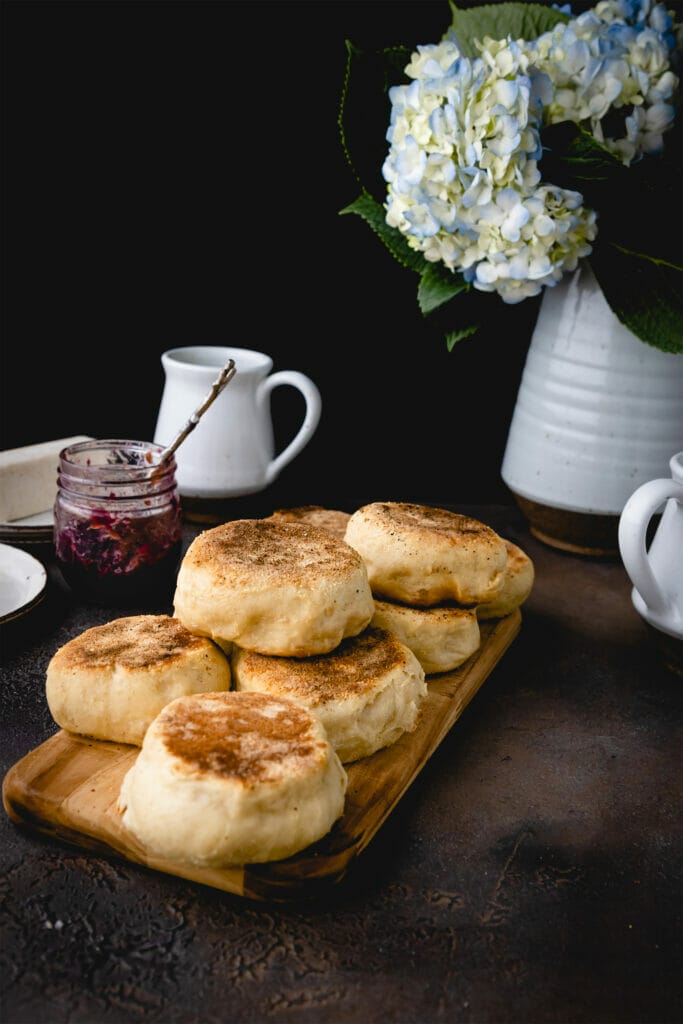
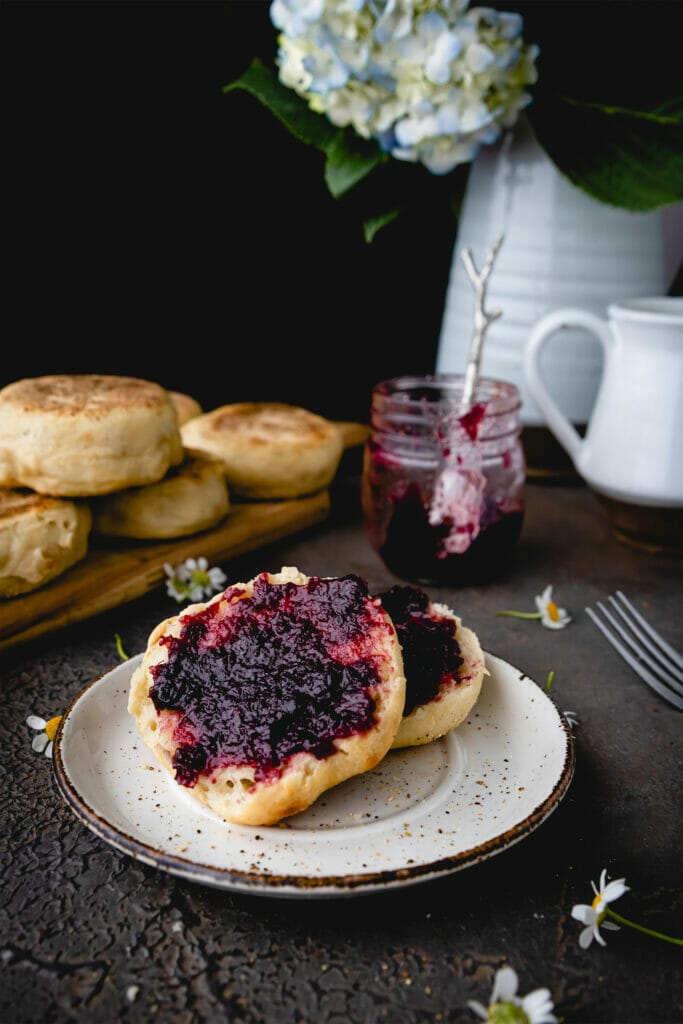
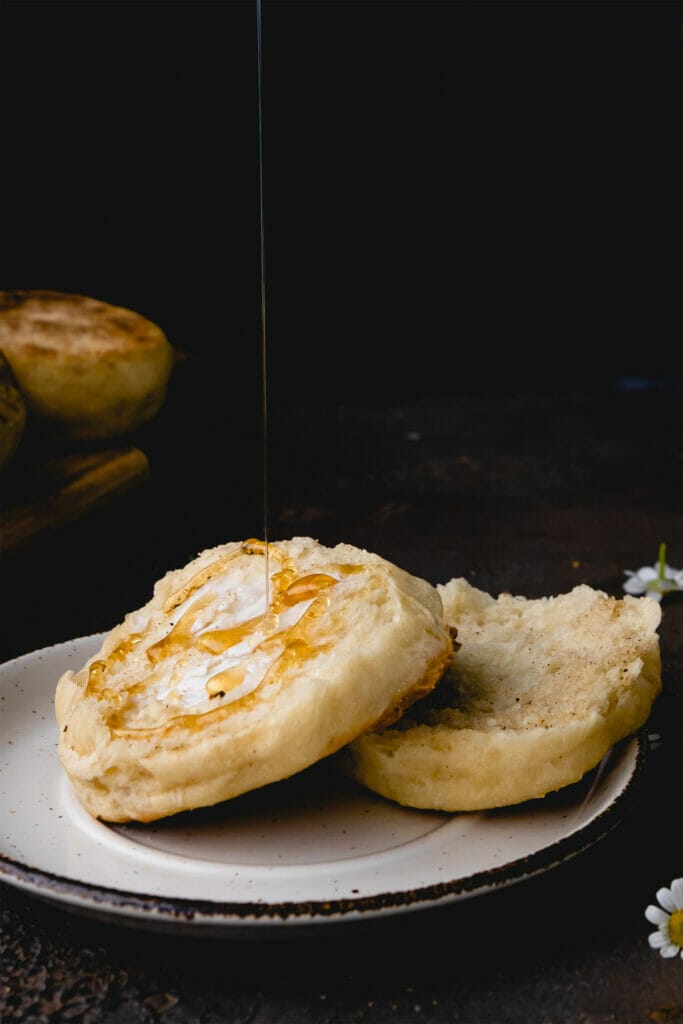
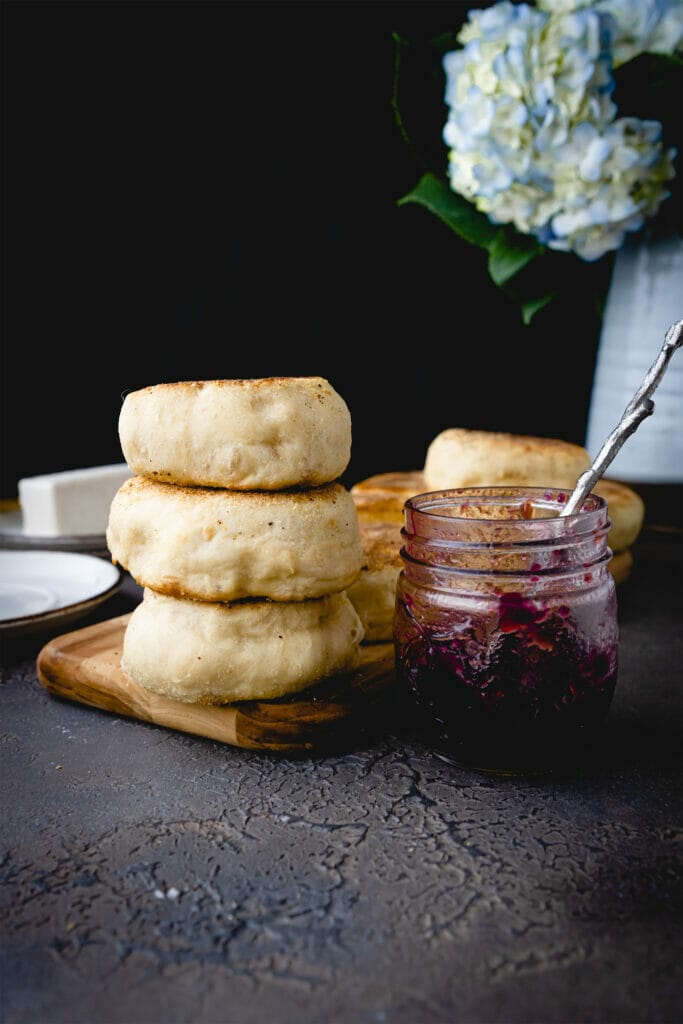
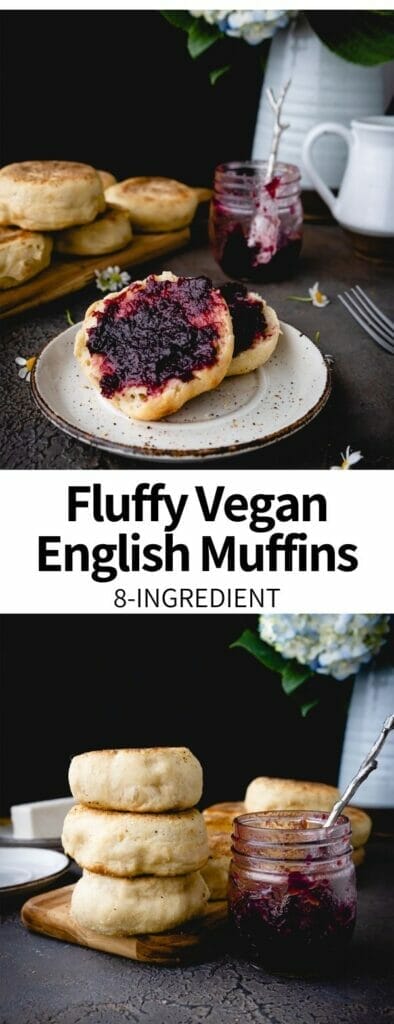
The simplest recipe for Vegan English Muffins, made with just 8 ingredients! These are full of classic flavor and delicious when toasted (with butter + jam) or on a breakfast sandwich. Much richer in flavor than store-bought, you’ll impress your friends with this recipe!
How to Make Vegan English Muffins at Home
Since this dough is yeasted, it benefits from an overnight rise. Be sure you give yourself some starting time before thinking this can be made in one day! Trust me, that extra long sleep in the fridge lets the dough develop a more complex flavor and produces a greater amount of airy holes.
After letting your dough rest in the fridge, you’ll carefully turn it out, build some gluten structure with folding, and then shape into about 12 equal rounds. These need to relax for about another hour and then they’re ready to be cooked: toasted on a griddle and then cooked through briefly. Most of the time needed in this recipe is completely hands-off.
FAQs about English Muffins
What is the difference between active yeast and instant yeast?
In short, active yeast needs to be dissolved in water before using, whereas instant yeast is made with smaller particles that do not require dissolving. Active yeast is the most common packet you’ll find in stores. Dissolving it in water “activates” it (see?) and you’re able to check if it is still alive. If it does not foam after adding warm water, it’s likely dead and you’ll need a new packet to start with. Here are some more differences between active and instant yeast.
What kind of flour do I need to this Vegan English Muffin recipe?
I only recommend using all purpose white flour or bread flour. I do not recommend experimenting with whole wheat your first time, as it tends to be “thirstier” and requires more water. AP flour helps us keep a high-hydration dough, which will yield the most nooks and crannies.
Do I need a stand mixer to make English Muffins at home?
Short answer: no! While a stand mixer can definitely be convenient, it is not a necessity here. A little extra elbow grease will get the job done.
How long do these Vegan English Muffins need to rest before baking?
These muffins require an overnight rest of at least 8 hours before baking, as this time is when the dough will slightly “ferment” and develop a more complex flavor. This will also help bubbles build up in the dough, to encourage more of the characteristic holes in texture.
How to Shape English Muffins (without a biscuit cutter)
- Taking one of the 12 portions of risen dough at a time, fold each corner of the square inward to create a little package.
- To develop more gluten, push dough back and forth on a clean work surface to create a tighter unit. This will help build surface tension and insure the the muffins hold their shape. Do this by holding the dough loosely between your fingers and palm, with your hand gripped in a “claw” shape. Rub the dough back and forth across the countertop, to create a smooth top surface.
- Gently mold into a loose sphere and place on the cornmeal-dusted sheet. Repeat with remaining pieces of dough. Do not press down too much, as you don’t want to lose the air built up in the muffins.
I hope you enjoy this recipe for Vegan English Muffins! If you’re looking to do some more bread baking, try one of these recipes next:
Print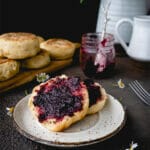
Vegan English Muffins
- Total Time: 45 minutes
- Yield: 12 muffins 1x
Description
The simplest recipe for Vegan English Muffins, made with just 6 ingredients! These are full of classic flavor and delicious when toasted (with butter + jam) or on a Breakfast sandwich. Much richer in flavor than store-bought, you’ll want to keep a stash on hand!
NOTE: This recipe requires an overnight rise.
Ingredients
- One 1 1/4 oz package active dry yeast (active should work also since we’re doing a double rise)
- 1 TBS sugar (organic cane sugar if you can find it)
- 3/4 cup milk (dairy-free if needed) + 1 TBS vinegar (our “buttermilk”)
- 4 TBS butter, dairy-free if needed
- 2 TBS canola or avocado oil
- 1 tsp salt
- 4 and 1/4 cups all purpose flour, divided (532 grams)
- Cornmeal for dusting
Instructions
- Combine yeast, sugar, and 1 cup warm water in a large bowl or in the base of a stand mixer. Make sure that it becomes foamy after a few minutes, this means your yeast is “alive.” If it does not foam, start again with a new packet.
- Add milk and vinegar mixture, butter, canola oil, and salt and beat to combine, either with your mixture or a wooden spoon. Add 4 cups of flour and beat until a shaggy dough forms. If you’re doing this by hand it will take a bit longer, try to vigorously stir for 5-10 minutes until the dough begins to pull away from the sides of the bowl. This helps develop some gluten for structure. The dough will be very wet. If you’re having trouble getting it to combine, add remaining 1/4 cup flour. Remove dough from large bowl and transfer to a medium-sized, lightly oiled mixing bowl. Cover with plastic wrap or BeesWrap tightly and let sit in the fridge overnight. This will insure the best flavor and make the dough easier to handle. The dough will expand a lot in the fridge, so make sure you have space and choose the right bowl for the job.
- In the morning of the next day, remove your dough from the fridge and divided into 11 or 12 equal square portions on a clean work surface. Dust two baking sheets with cornmeal and set aside.
- To develop more gluten, push dough back and forth on a clean work surface to create a tighter unit. This will help build surface tension and insure the the muffins hold their shape. Do this by holding the dough loosely between your fingers and palm, with your hand gripped in a “claw” shape. Rub the dough back and forth across the countertop, to create a smooth surface on top.
- Repeat with remaining pieces of dough. Lightly cover baking sheets with a damp towel and allow to rise 60 more minutes. They will become nice and puffy. Close to the end of the rise time, preheat your oven to 350 F.
- Preheat your oven to 350 F. Heat an un-oiled cast iron skillet or griddle to medium. Once hot, gently place one muffin at a time on the hot pan, pressing slightly with the skillet to insure a level topping. Do not press too firmly, as you don’t want to get rid of the gas bubbles that have built up after the rising. Let cook for about 5 minutes each side, until golden brown. Flip carefully, as you would pancakes. One both sides are browned, use a spatula to transfer one muffin at a time to the preheated baking sheet. Let cook for 10 minutes more in the oven, to insure the sides are dry and the inside is properly set up. Remove from oven and let cool completely. Split muffins open with a fork (to help preserve those nooks and crannies), toast is desired, and enjoy!
- Prep Time: 15 minutes
- Cook Time: 30 minutes
- Category: Breakfast
- Method: Baking
- Cuisine: English
Nutrition
- Serving Size: 1 muffin
- Calories: 223 calories
- Sugar: 1.3 grams
- Sodium: 243 milligrams
- Fat: 6.6 grams
- Saturated Fat: 1.3 grams
- Unsaturated Fat: 5.3 grams
- Trans Fat: 0 grams
- Carbohydrates: 35.3 grams
- Fiber: 1.5 grams
- Protein: 4.9 grams
- Cholesterol: 0 milligrams
Pin this recipe:


This is a great idea for a Sunday breakfast! Kids are going to love this in combination with some homemade jam. And I I can’t wait to try it with Latte 🙂 Thanks for sharing this recipe!
⤠Caitlin
cleancookingcaitlin.com
Hey Caitlin, thanks so much for the kind comment! I hope they love it!
Absolutely delicious- perfect for Sunday brunch. I was afraid mine hadn’t risen enough, but they puffed right up in the skillet. And so tasty -big hit!
I’m really glad they puffed up, it can be deceiving! Thanks for making!