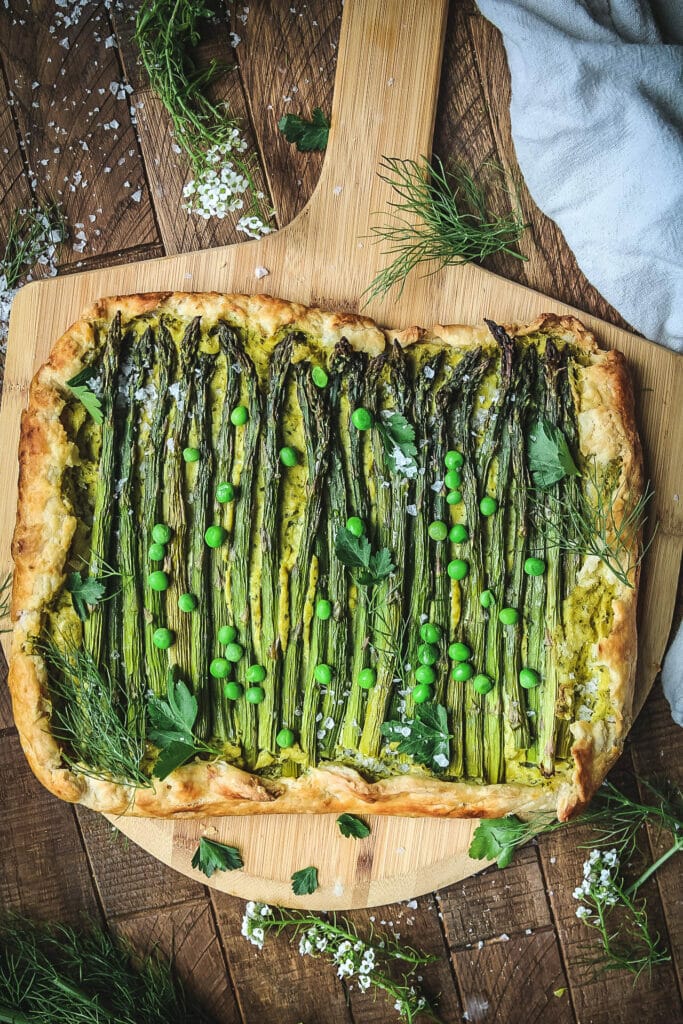
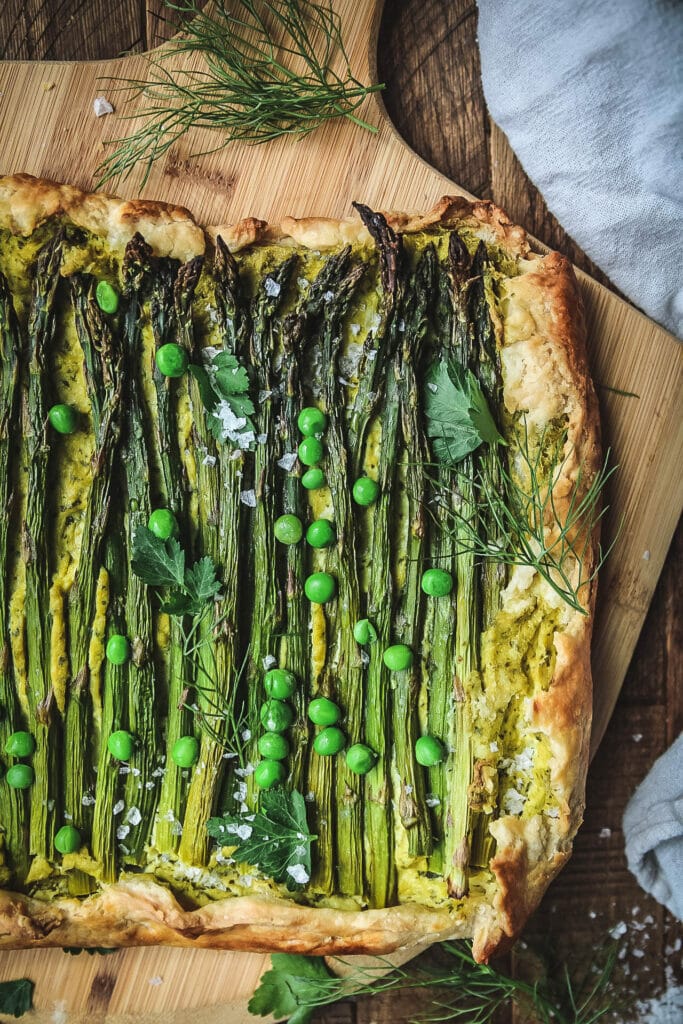
Make this Asparagus Ricotta Galette for your next brunch – it’s the perfect recipe to celebrate spring! Layered with a flavorful vegan ricotta and topped with savory herbs and roasted asparagus, it’s elegant, light, and festive.
Details for This Vegan Asparagus Ricotta Galette
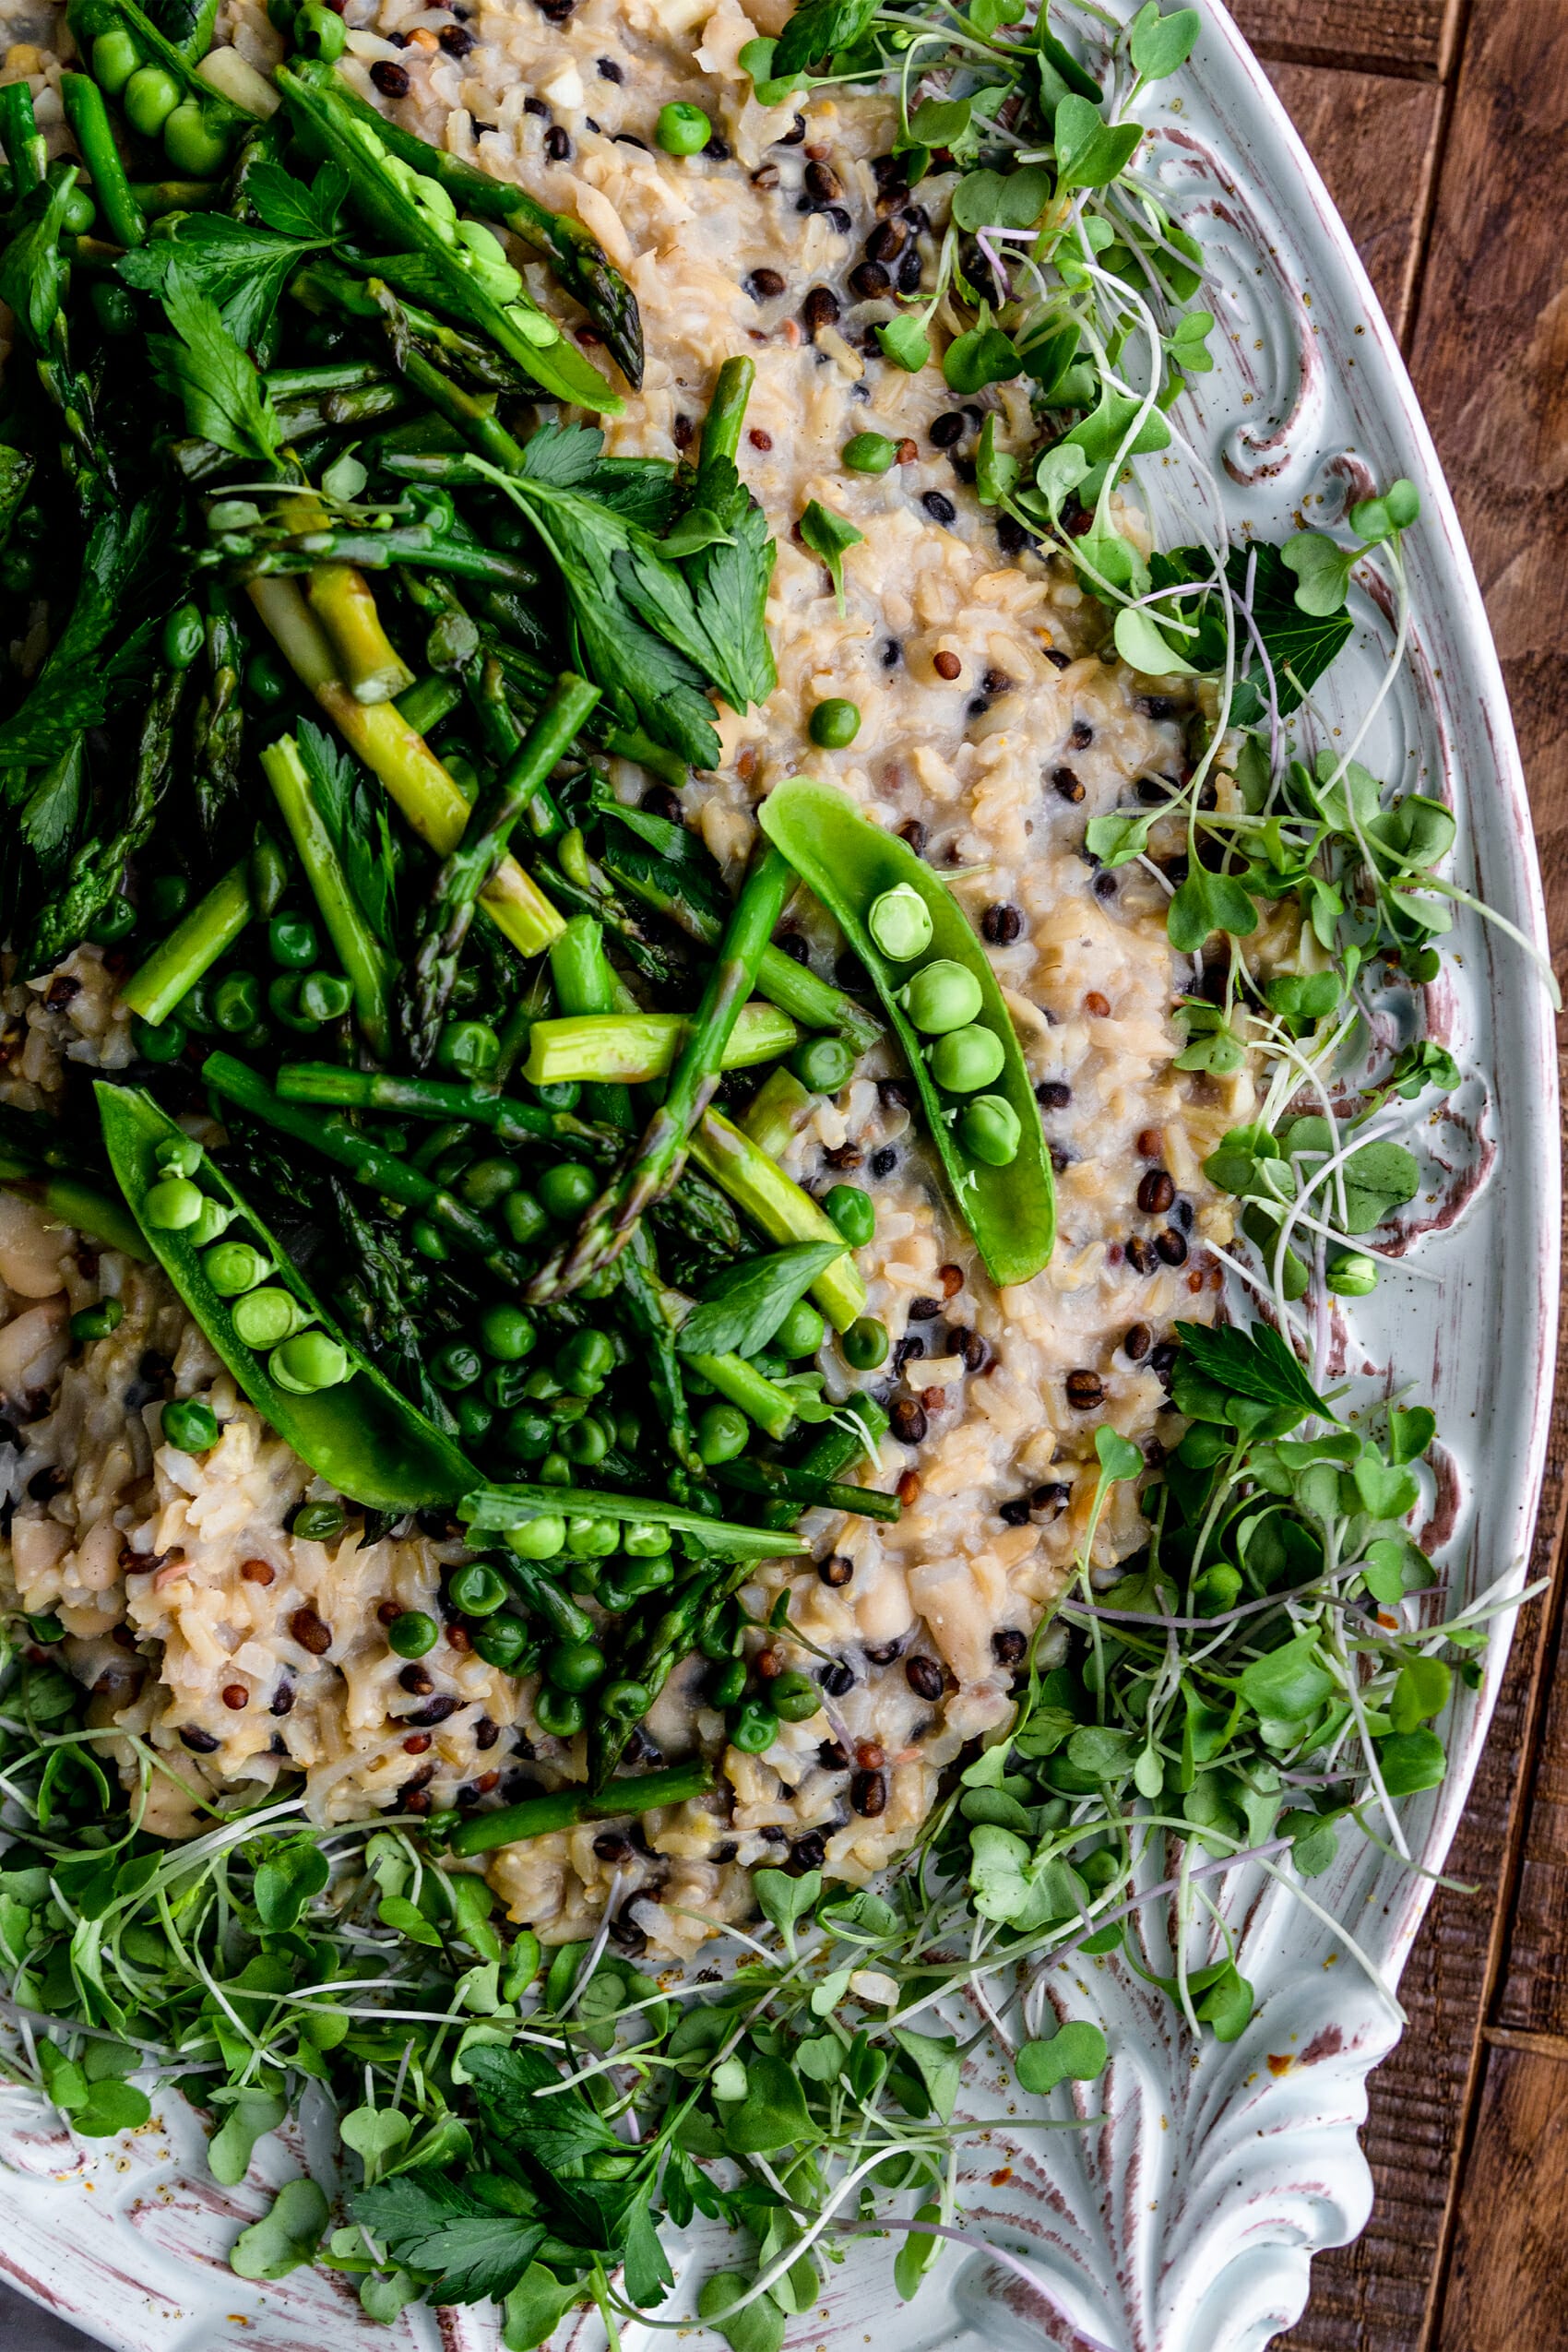
Asparagus, peas, lemon, and ricotta all come together in spring as a verdant and fresh counterpart to more heavy winter fare. The flavors complement each other beautifully, but finding a perfect plant-based ricotta is not typically easy.
This recipe is more of a “stand out” dish – something I thought would be perfect for spring celebrations that looks like it takes quite a bit more effort than it does.
The ricotta itself is something that can be used in a variety of contexts, too! It would be perfect on a pizza, in a pasta, or spread on seedy crackers.
How to Make Vegan Ricotta Cheese with Tofu
By adding a lot of other flavors, we’re able to make this recipe not taste like tofu at all. Not that tofu really has a taste, but you know what I mean.
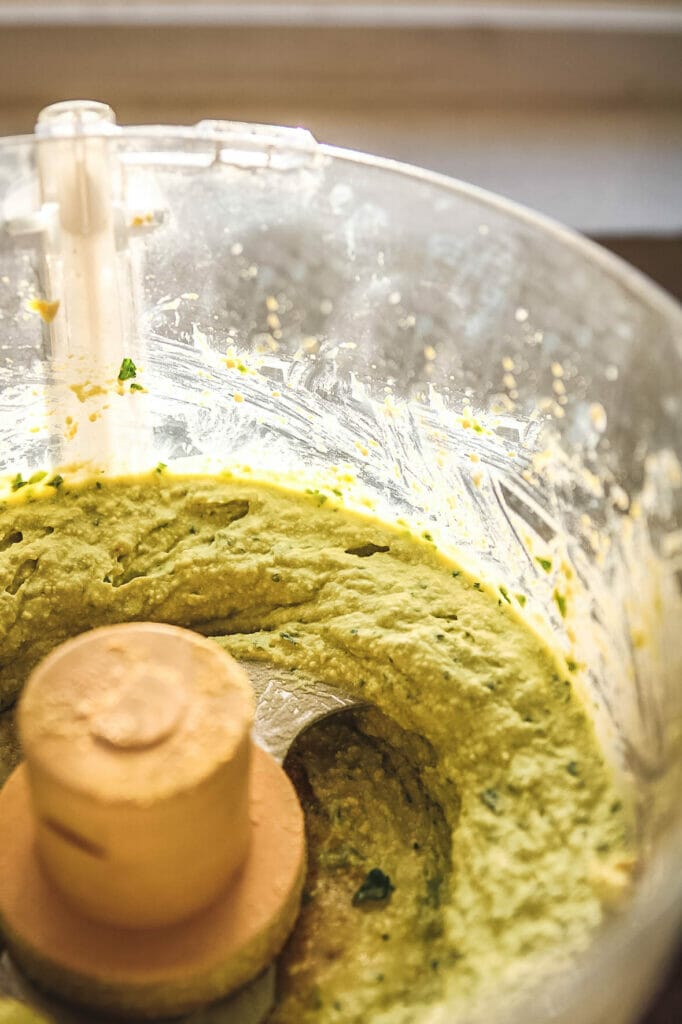
In a food processor, first add ½ of a block (about 7 oz) of firm tofu, not drained. While we normally press tofu to eliminate water (and therefore more easily absorb other flavors) the extra water here really helps the consistency of our ricotta.
Next, add 2 TBS of nutritional yeast (if you have it), ¼ cup plain hummus, a pinch of salt, 1 TBS olive oil, ½ cup mixed fresh herbs (I like a mix of basil and parsley), and the juice from ½ of a lemon.
Run the processor until fully combined. Add a splash of water to help things along if needed, scraping down the sides a bit to ensure all herbs are blended.
If you don’t have a food processor, feel free to chop the herbs by hand and mix everything in a large bowl. It won’t be as smooth but will still work! Your goal is to have as cohesive a mixture as possible. I have not tried making this in a blender but I could see that being just fine,
Ways to Customize this Recipe
- Store-bought crust is certainly a way to speed this recipe up – there is nothing wrong with subbing one in! Both pie crust and puff pastry fit the bill.
- If you do not have hummus, tahini can work as a substitute. You may want to add a bit of garlic or some additional seasoning to the ricotta to make up for this, as tahini on its own can have a pretty strong flavor depending on the brand.
Serving Suggestions
As mentioned above, this asparagus ricotta galette really makes sense to bring to a spring party or holiday gathering. However it’s really a nice option for any kind of brunch party.
To round this out and make a full meal, pair it with an arugula salad.
More Shareable Asparagus and Pea Recipes for Spring
Other Uses for Tofu Ricotta
You’ll notice that this recipe only calls for ½ of a block of tofu. This is a bit of an awkward amount so feel free to use an entire block when processing and double the quantities of everything else in the dish! Vegan ricotta can be delicious when pair with:
- Fig Jam Pizza Bianca
- French Onion Pasta Bake (used in place of almond cheese)
- Inside of pumpkin pierogi
- Whipped Ricotta Tomato Toast

Vegan Asparagus Ricotta Galette
- Total Time: 1 hour
- Yield: 8 servings 1x
- Diet: Vegan
Description
Make this Asparagus Ricotta Galette for your next brunch – it’s the perfect recipe to celebrate spring! Layered with a flavorful vegan ricotta and topped with savory herbs and roasted asparagus, it’s elegant, light, and festive.
Ingredients
For crust (feel free to use one thawed store-bought crust in place of making your own):
- 1/2 tsp apple cider vinegar
- 1/4 cup ice water
- 1 1/3 cups all purpose or spelt flour (167 g)
- 1/2 tsp sea salt
- 1/2 cup vegan butter, like Miyokos
For vegan ricotta:
- 1/2 (7 oz) from one block of tofu, not pressed (see recipe notes for ideas for rest of block)
- 2 TBS nutritional yeast (optional)
- 1/4 cup plain hummus
- 1/2 tsp sea salt
- 1 TBS extra virgin olive oil
- 1/2 cup fresh parsley or basil
- Juice from 1/2 lemon
For rest of galette:
- 1 lb asparagus
- Flaky salt and pepper
- 1/2 cup peas, fresh or frozen
- Fennel fronds, mint, parsley, and/or basil to garnish
Instructions
- If making your own crust, mix ice water and apple cider vinegar in a shallow bowl (no need to be incredibly specific with the water measurements as you won’t be using all of it). If you’re using a store-bought crust, skip to step 4.
- Combine flour and salt in a large bowl. If you have a wide-edge grater, grate the butter over the flour. This is my favorite way! If you don’t have one, simply add in cubes of butter and slice through them with a pair of knives to create pea-sized pieces. Your goal is to fully coat the butter in flour so the entire mixture looks like rough sand.
- Add water to the flour mixture 1 TBS at a time, to bring the mixture together. Try not to over-mix or add too much water as this will make your crust tough and hard to work with. I normally use 5-6 TBS of water to make a recognizable dough. Turn it over with your hands a few times and shape into a small rectangle. Add back into the bowl, cover with a towel, and let rest in the fridge while you make the other portions of this recipe. While you’re adding this to the fridge, try to make some space in there for a sheet tray for later (Step 7).
- To make vegan ricotta, combine tofu, nutritional yeast (if you have it), hummus, salt, olive oil, fresh herbs, and lemon juice in a food processor. Run until fully combined. Add a splash of water to help things along if needed, scraping down the sides a bit to ensure all herbs are blended. If you don’t have a food processor, feel free to chop the herbs by hand and mix everything in a large bowl. It won’t be as smooth but will still work! Your goal is to have as cohesive a mixture as possible. Set aside.
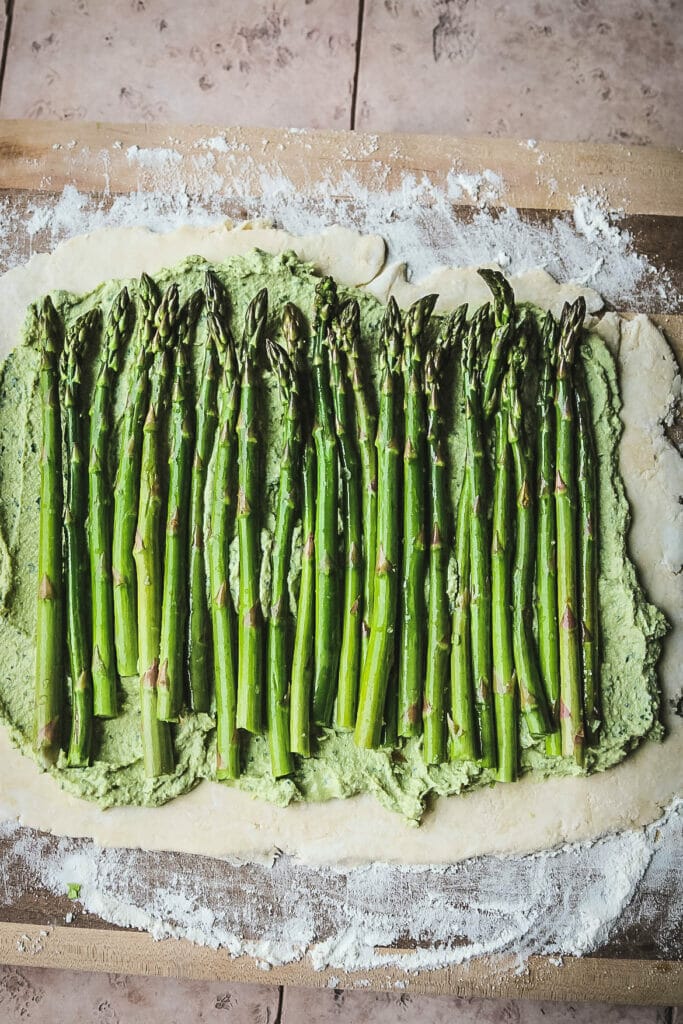
- Line a sheet pan with parchment or a baking mat. Remove the crust from the fridge and roll out into a large rectangle and spread ricotta over top, leaving about a 2 inch gap around the edges.
- If your asparagus spears are pretty thick (pretty thick would be about the thickness of a marker), slice them in half lengthwise. Pencil-sized asparagus can be left alone. If the ends are tough and woody, trim them off to compost. Place asparagus on top of the ricotta mixture side-by-side, pretty close together. If you have any extra, coat them in olive oil with a pinch of salt and roast them on another tray in the oven for a bonus snack!
- Fold exterior edges of the crust over the asparagus spears, tucking them in. Drizzle the edges with a bit of olive oil and a few twists of black pepper. If you have flaky salt, you can add some now or later. If you have the room, place your prepared galette in the fridge to chill right before baking. Extra-cold pastry will puff really nicely in the oven.
- Preheat the oven to 400 degrees F. Once hot, remove the galette and cook on the center rack for 30-40 minutes. Rotate the pan halfway through to ensure even browning.
- Once golden brown, remove the galette from the oven and carefully slide onto a cooling rack. If using frozen, defrost peas now. When ready to serve, top the galette with peas and as many fresh herbs as you’d like. This is best eaten a day or two after it’s made but will last in the fridge for 4 days.
- Prep Time: 30 minutes
- Cook Time: 30 minutes
- Category: Dinner
- Method: Baking
- Cuisine: American
Nutrition
- Serving Size: One eighth of recipe
- Calories: 247.6 calories
- Sugar: 2 grams
- Sodium: 405.7 milligrams
- Fat: 14.1 grams
- Saturated Fat: 8.6 grams
- Unsaturated Fat: 5.5 grams
- Trans Fat: 0 grams
- Carbohydrates: 22.9 grams
- Fiber: 3.6 grams
- Protein: 8.6 grams
- Cholesterol: 0 milligrams