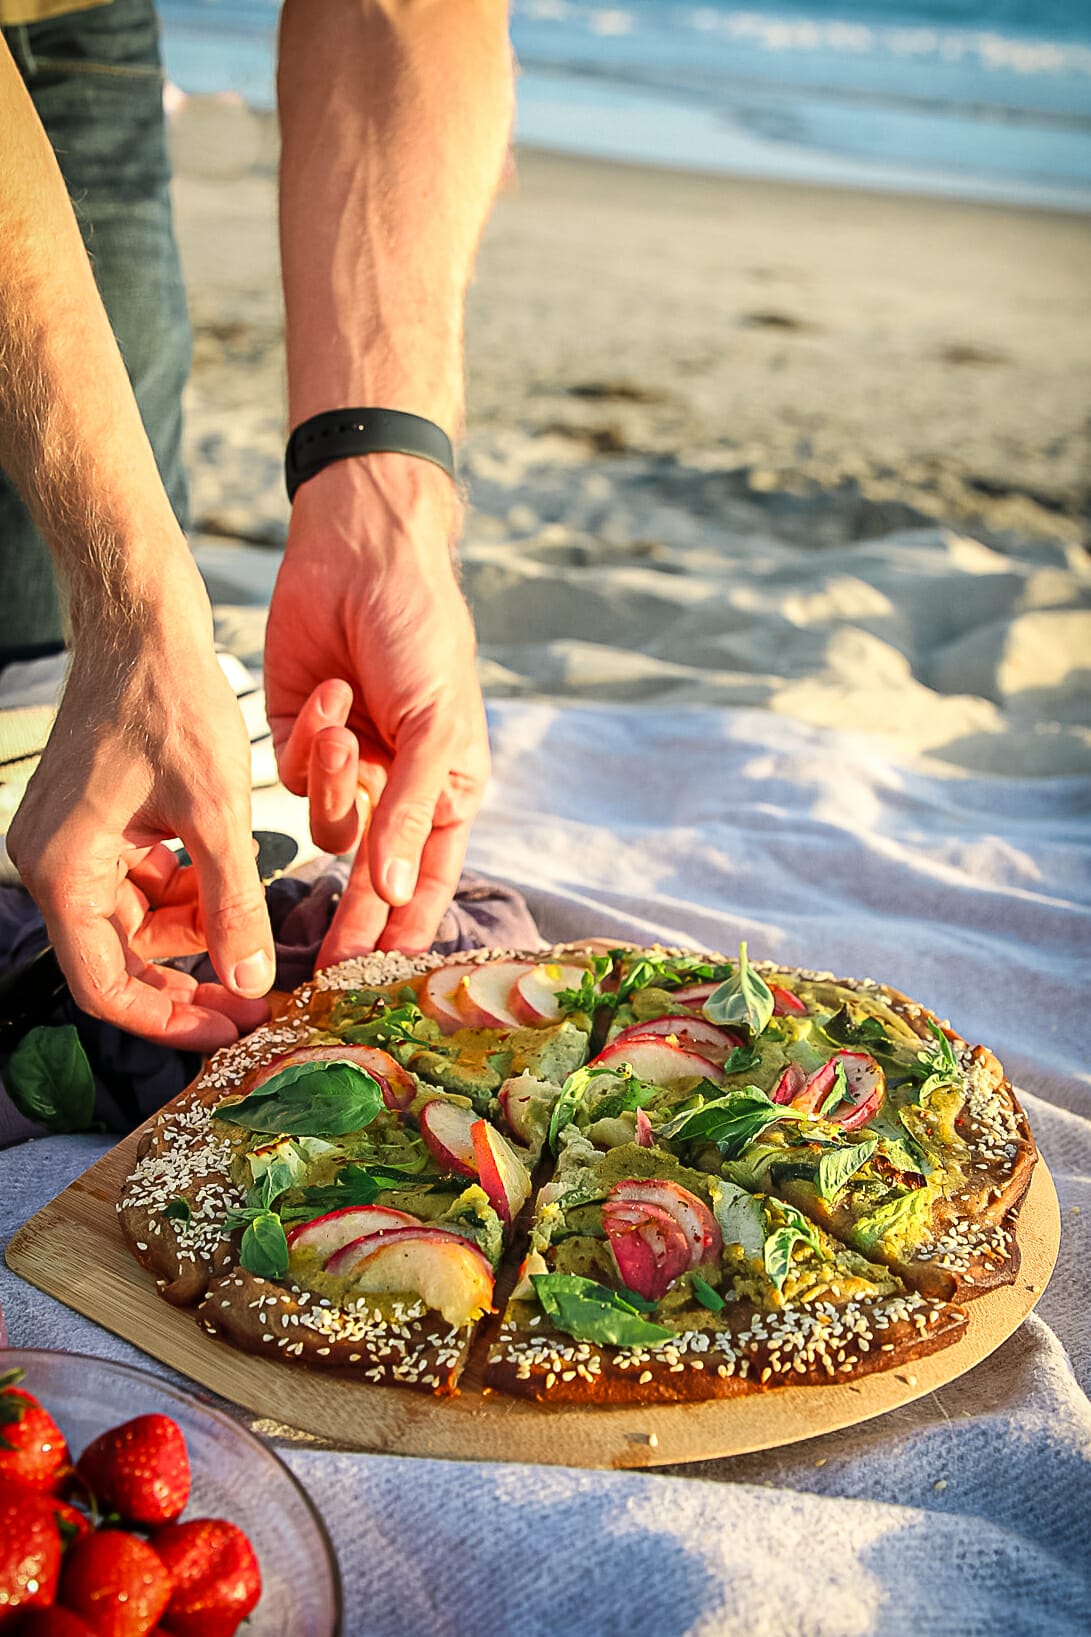
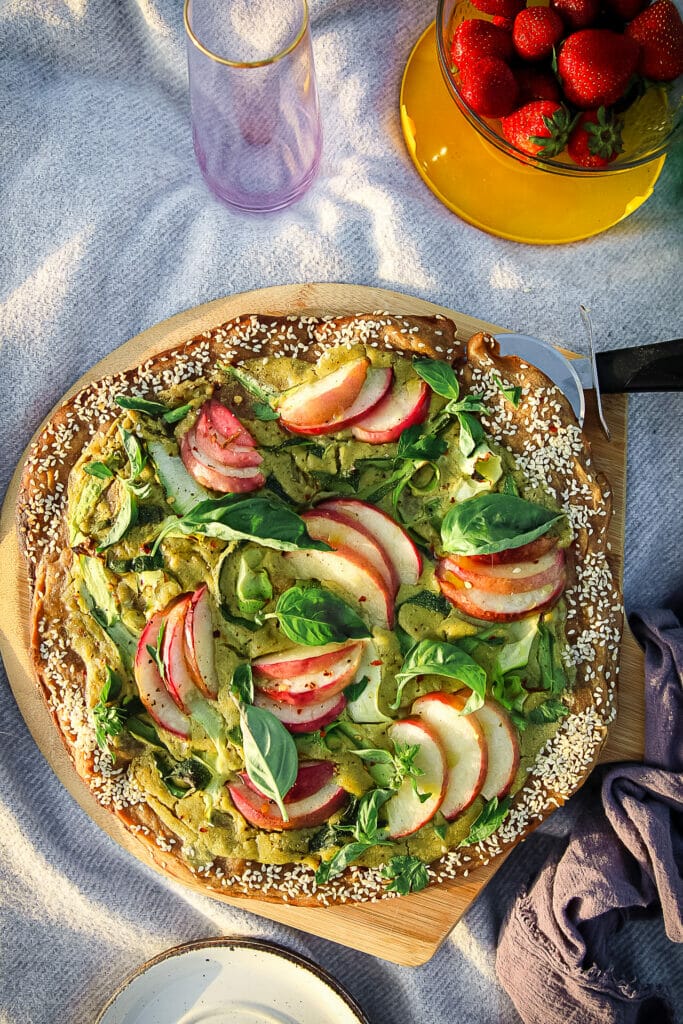
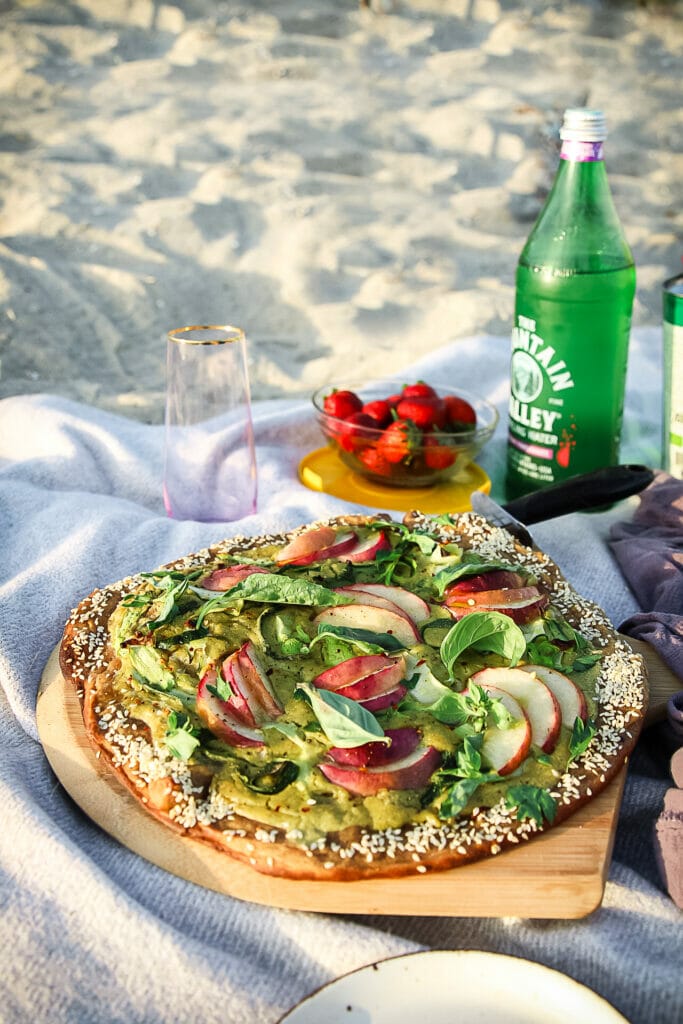
This Zucchini and Peach Pizza with herby white sauce is an unexpected and delicious way to celebrate summer flavors! Totally vegan and easily gluten-free, try it in the oven or on the grill.
Love peaches? Be sure to check out this roundup of all my favorite peach recipes!
Zucchini Peach Pizza Details
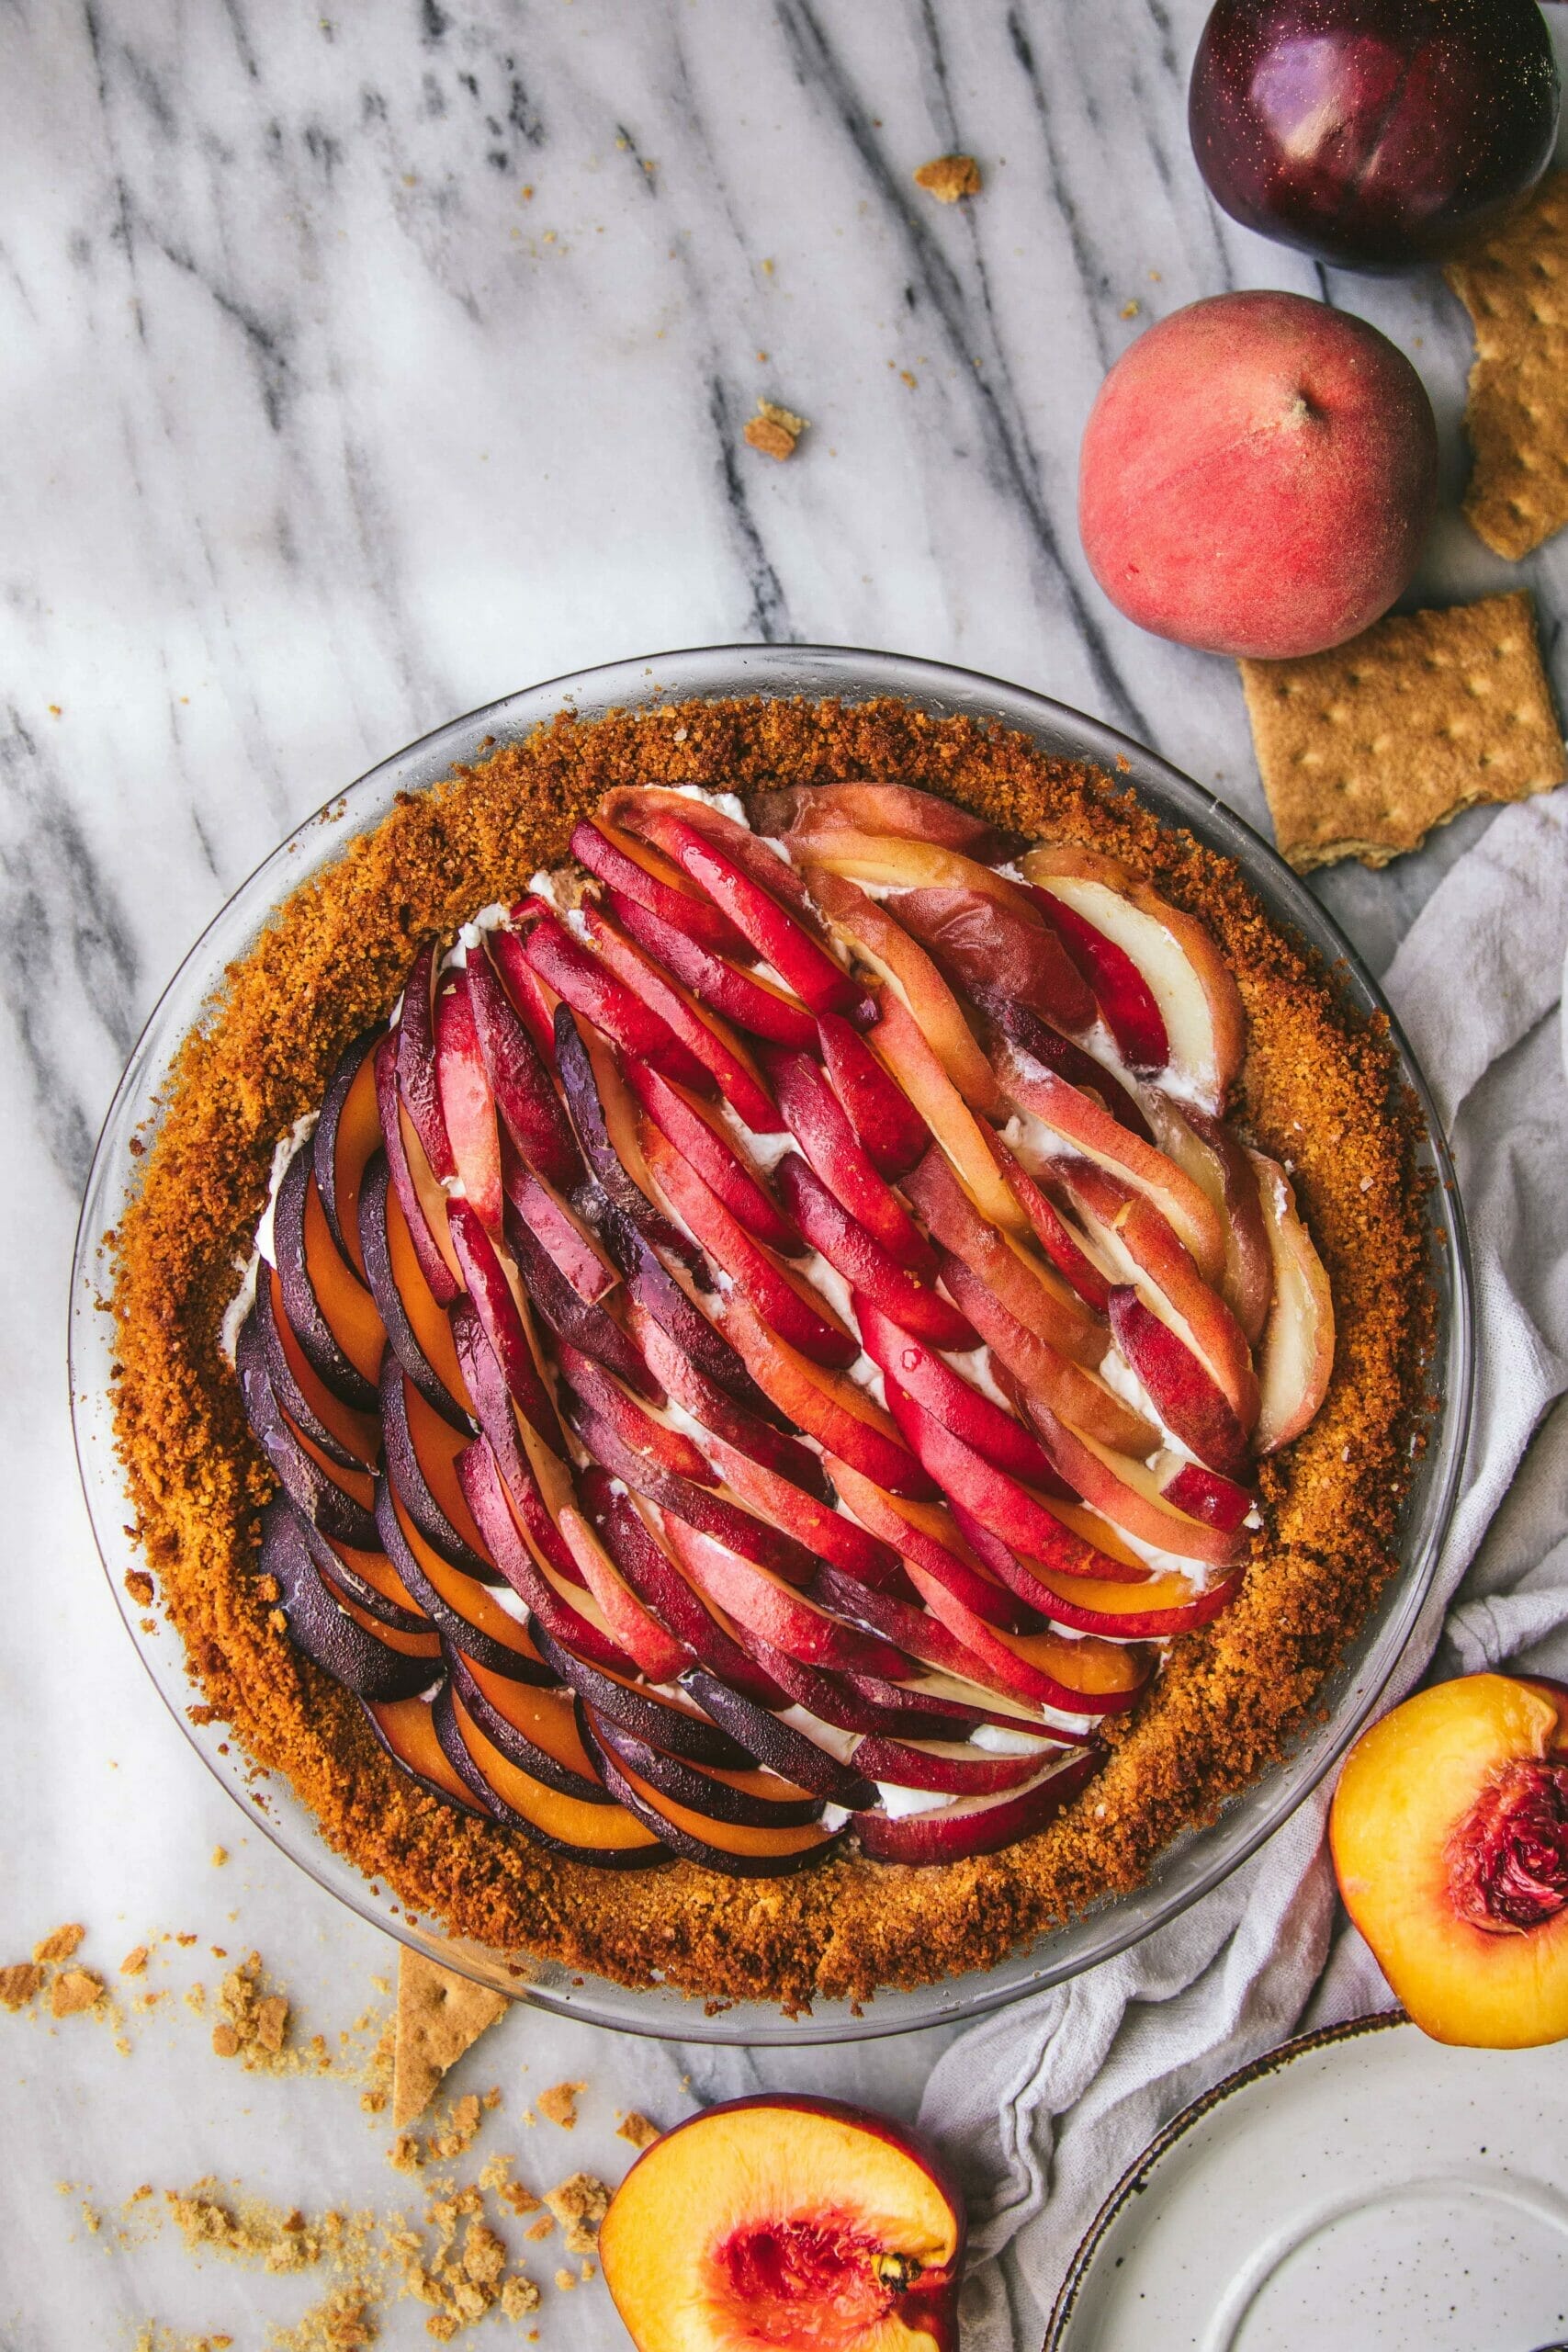
Pineapple is an oft-maligned topping for pizza. I honestly don’t have strong feelings about it, but there are much better options fruit options in my book. Enter: nectarine and peaches! In the heat of the summer, juicy stone fruit is a perfect pairing for creamy, herbaceous homemade pizzas. Today, we’re pairing it with another summer favorite, zucchini, for a fresh and colorful pie (you can easily make on the grill, too).
As the base of this recipe we’re using my Easiest Flatbread, but feel free to use store-bought dough as well! With pre-made dough, this recipe can be ready in just 35 minutes.
I almost named this a “green goddess pizza” as the white cream sauce actually has a bright green hue from the blended parsley. True green goddess dressing has mayonnaise (not my thing) so we’re keeping this title simple.
Do you love peaches in a savory context? Try this Peach Tomato Caprese Salad next!
Recipe FAQ
Yes! Juicy peaches contrast nicely with richer ingredients like creamy cheese. They maintain a good bit of freshness when baked and add a pop of flavor to the most traditional pizza options.
Cashews and nondairy milk form the base of this creamy sauce, while nutritional yeast, lemon juice, fresh herbs, and garlic powder provide the flavor.
Heat the grill to medium-high. Spread 1-2 TBS of olive oil on both sides of the dough. Stretch into a pie shape and lay on top of the grill grates, sprinkle with a bit of salt, and close the lid. Let cook for 3-5 minutes. Using tongs or a fork, flip the flatbread. Add sauce and toppings as suggested above, close the lid, and let cook 10 minutes more. Remove from the grill, let cool for a couple of minutes, and serve.

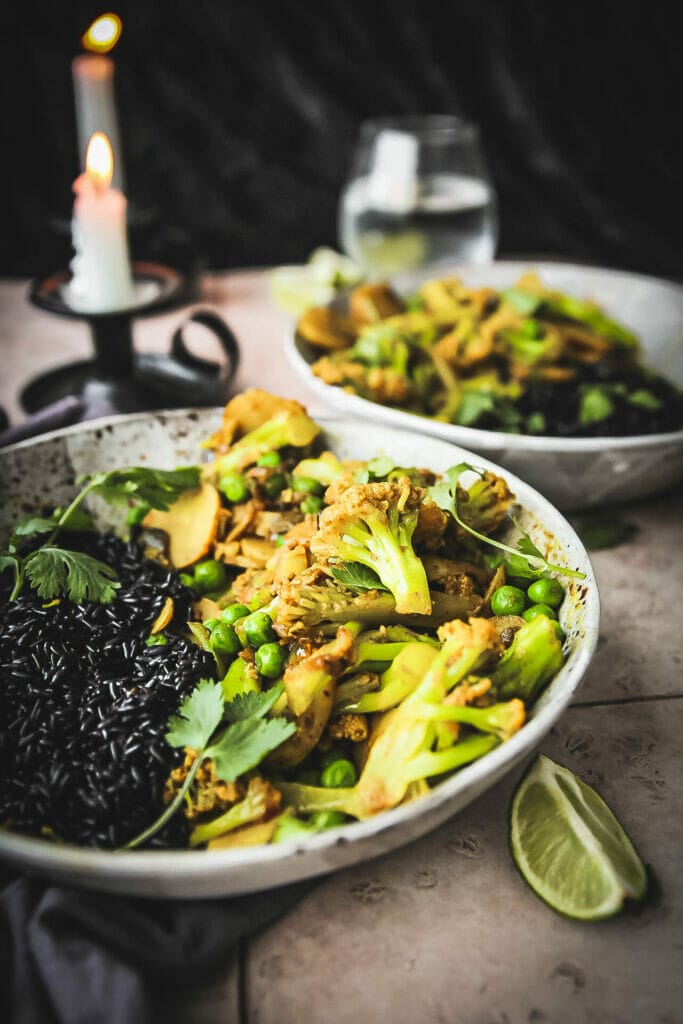
More Plant-Based Pizza Recipes
Looking to use up the rest of your zucchini? Try one of these recipes:
Print
Zucchini Peach Pizza
- Total Time: 35 minutes
- Yield: 10 slices 1x
- Diet: Vegan
Description
This Zucchini and Peach Pizza with herby white sauce is an unexpected and delicious way to celebrate summer flavors! Totally vegan and easily gluten-free, try it in the oven or on the grill.
Ingredients
For plant-based white sauce:
- 2/3 cup cashew pieces, unsalted
- 1 cup nondairy milk, plain
- 1/2 cup fresh parsley (stems and leaves OK)
- 2 TBS nutritional yeast
- 2 TBS extra virgin olive oil
- 1/4 tsp of salt
- 1 tsp garlic powder, optional
- 1 TBS lemon juice
For pizza:
- 1 recipe uncooked easiest flatbread, or 1 lb store-bought pizza dough
- 2 TBS sesame seeds
- Extra virgin olive oil, used throughout
- 1 zucchini, small, peeled into ribbons
- 1 peach or nectarine, large, sliced
- Basil and/or parsley, to garnish
Instructions
- Begin my baking your own flatbread dough, if desired. If using store bought dough, proceed to step two. Preheat the oven to 450 degrees F (alternatively, you can make this on the grill, detailed in Notes).
- To make white sauce, add all ingredients to a high-speed blender and combine until creamy and smooth. If you do not have a high speed blender, I recommend soaking the cashews in hot water for 30 minutes, beforehand, then drain. This will make them easier to combine with the other ingredients.
- Spread your pizza dough across an oiled baking sheet, stretching into a round shape about 12 inches across. Spread the sauce across the entire top, leaving a rim for the crust. Sprinkle sesame seeds across the crust edges.
- Swirl the zucchini ribbons across the sauce, and fan out peach slices however you like. Drizzle the entire pizza in bit more olive oil. Bake for around 20-25 minutes, until the crust is golden brown and the sauce is beginning to firm up.
- Let cool slightly and garnish with fresh herbs. Best enjoyed the same day it is made.
Notes
To make this recipe on the grill: Heat the grill to medium high. Spread 1-2 TBS of olive oil on both sides of the dough round. Lay on top of the grill grates, sprinkle with a bit of salt, and close the lid. Let cook for 3-5 minutes. Using tongs or a fork, flip the flatbread. Add sauce and toppings as suggested above, close the lid, and let cook 10 minutes more. Remove from the grill, let cool for a couple of minutes, and serve.
- Prep Time: 15 minutes
- Cook Time: 20 minutes
- Category: Dinner
- Method: Baking
- Cuisine: American
Nutrition
- Serving Size: 2 slices
- Calories: 504 calories
- Sugar: 6.6 grams
- Sodium: 512.6 milligrams
- Fat: 21.4 grams
- Saturated Fat: 3.2 grams
- Unsaturated Fat: 18.2 grams
- Trans Fat: 0 grams
- Carbohydrates: 67.3 grams
- Fiber: 3.8 grams
- Protein: 11.6 grams
- Cholesterol: 0 milligrams